Disasters don’t come with a warning. Whether it’s a wildfire, hurricane, power outage, or civil unrest, being able to act quickly and confidently is essential. That’s why building a reliable and well-thought-out Bug Out Bag Build should be at the core of your emergency preparedness plan. This guide will walk you through everything you need to know—from the essentials to smart packing strategies—to create a survival kit that truly works when it matters most.
Why Your Bug Out Bag Build Matters
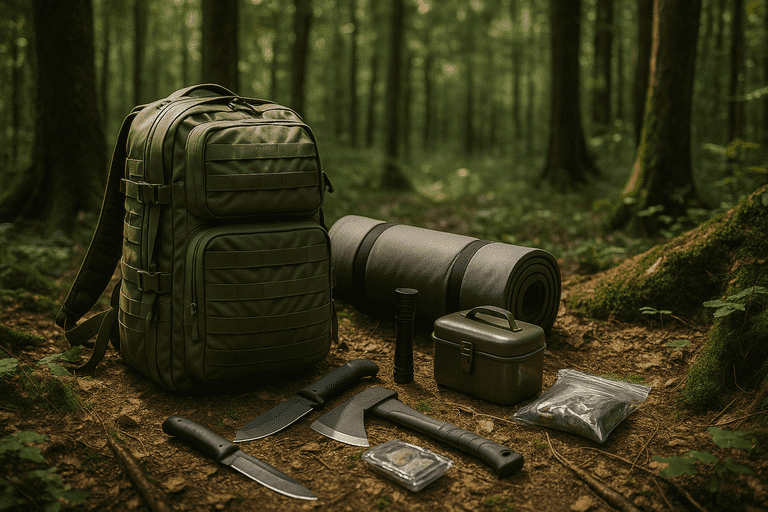
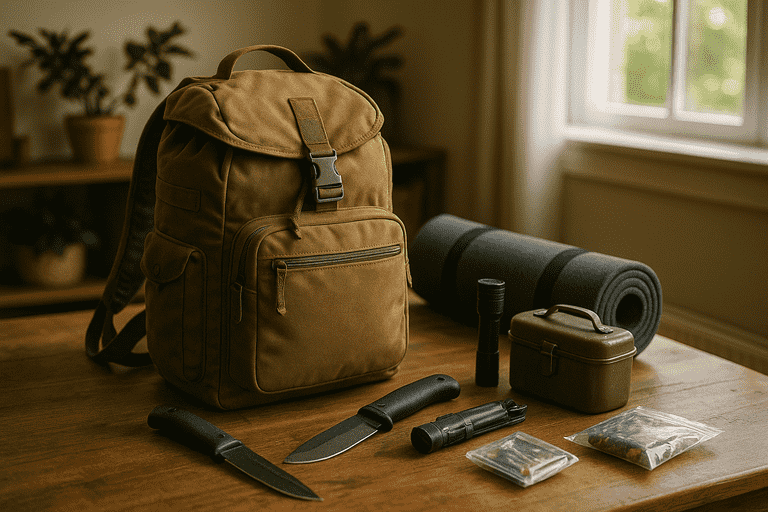
A Bug Out Bag Build is more than a backpack with random gear thrown in. It’s a strategic combination of survival tools, resources, and personal necessities designed to keep you alive and mobile for at least 72 hours. In a crisis, time is your enemy. Having a ready-to-go kit can buy you those precious extra minutes—and could make all the difference between reaching safety or being left unprepared.
Whether you’re evacuating due to extreme weather, fleeing a compromised area, or facing sudden isolation, the bag on your back must be one you can trust.
Bug Out Bag Build: Core Components
To get the most out of your bug out setup, you need to pack smart and purposefully. Every item should serve a specific need without adding unnecessary weight. Here’s what you need in your Bug Out Bag Build:
1. Water and Hydration Essentials
Without clean water, survival is limited to about three days. Your pack should include both immediate hydration and long-term purification options.
Recommended gear:
- Collapsible water bottles or canteens
- Personal water filter (e.g., LifeStraw, Sawyer Mini)
- Water purification tablets
- Stainless steel bottle for boiling
Redundancy is key—two ways to store, two ways to purify.
2. Food and Calorie Sources
Your Bug Out Bag Build must sustain your energy in high-stress situations. Pack food that is light, high in calories, and shelf-stable.
Best options:
- High-calorie energy bars
- Dehydrated meals
- Nut butters and trail mix
- Freeze-dried fruits
- Portable stove and utensils (optional)
Plan for about 2,000–2,500 calories per day.
3. Shelter and Temperature Control
Protection from the elements can be the difference between survival and hypothermia. Choose compact but effective shelter materials.
Items to include:
- Emergency bivvy sack or mylar blanket
- Lightweight tarp or tent
- Sleeping mat or insulated pad
- Poncho or rain jacket
Adapt your Bug Out Bag Build to local climate conditions.
4. Clothing and Footwear
Pack like you’re going on a three-day outdoor trek in unpredictable weather.
Pack:
- Moisture-wicking base layers
- Mid-layer fleece or wool
- Waterproof outer layer
- Extra socks and undergarments
- Hat, gloves, and scarf
Durability and comfort matter more than style in survival scenarios.
Tools and Safety in Your Bug Out Bag Build
5. Fire Starting Gear
Fire keeps you warm, cooks your food, and provides a psychological boost.
Essential items:
- Ferrocerium rod (fire steel)
- Waterproof matches or stormproof lighters
- Tinder (cotton balls in petroleum jelly or fire cubes)
Include at least two ignition methods in your Bug Out Bag Build.
6. First Aid and Medical Supplies
Injuries can become life-threatening if untreated. Customize your kit beyond the basics.
Recommended supplies:
- Gauze, bandages, antiseptic wipes
- Pain relievers, antihistamines, antidiarrheals
- Tweezers, scissors, and gloves
- Personal medications
- Compact CPR face shield
Keep your medical kit in a waterproof pouch.
7. Navigation and Communication
Your Bug Out Bag Build should help you stay oriented and informed—even if cell towers go down.
Essentials:
- Compass and detailed maps of your region
- Emergency hand-crank radio
- Whistle, signal mirror
- Waterproof notepad and pen
GPS devices are useful but shouldn’t be your only option.
8. Lighting and Power
Being able to see and signal in the dark is crucial.
Pack:
- Headlamp (hands-free use)
- LED flashlight
- Extra batteries
- Small solar charger or power bank
Don’t rely on your phone as your only light source.
Organization and Smart Packing Tips
Strategic Layout for Your Bug Out Bag Build
How you pack matters just as much as what you pack. A poorly organized bag can slow you down when every second counts.
Pro tips:
- Heavier items go near the center of your back
- Most-used items (like flashlight, first aid) should be easily accessible
- Use packing cubes or dry bags to separate categories
- Label compartments if possible
Try a dry run: wear your bag fully loaded and hike with it for 30–60 minutes.
What Not to Include in Your Bug Out Bag Build
Avoid the temptation to overpack. Weight is your enemy when you’re on the move.
Leave out:
- Bulky cooking equipment
- Books and entertainment items
- Excess clothing
- Items you don’t know how to use
- Valuables and luxury items
If something doesn’t serve a clear, critical function, it probably doesn’t belong in your Bug Out Bag Build.
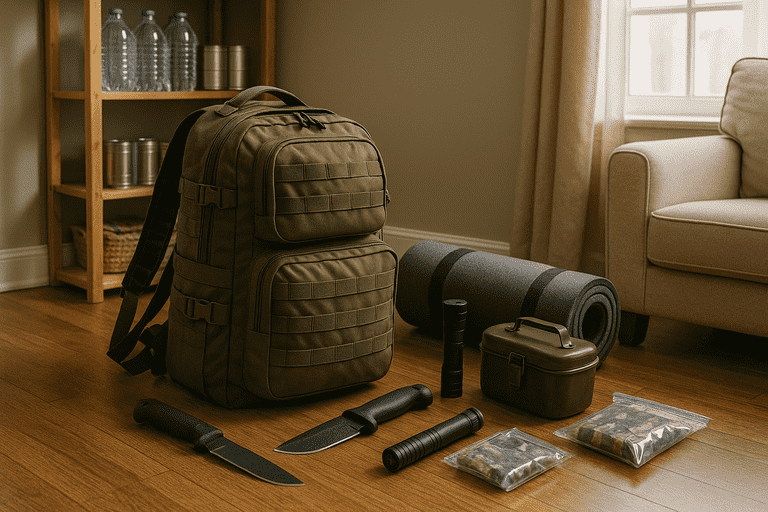
Where to Store Your Bag
Quick access is key. Store your bag in an area that you can reach in under a minute.
Common storage spots:
- Entryway closet
- Under the bed
- Trunk of your car
- Workplace locker (if commuting long distances)
Some people build multiple bags for different locations—home, car, office.
Maintaining Your Bug Out Bag Build
Like any survival system, your bug out kit requires regular updates.
Maintenance checklist:
- Rotate food and medication every 6 months
- Check water purification gear for expiration
- Test electronics and replace batteries
- Update documents and cash
Seasonal changes may also require adjustments to clothing and shelter items.
Final Thoughts on Building the Right Bag
A strong Bug Out Bag Build is about more than just gear—it’s about mindset, strategy, and ongoing awareness. Emergencies are unpredictable, but your response doesn’t have to be. When disaster strikes, there won’t be time to prepare. There will only be time to act.
By following this guide, testing your equipment, and customizing your kit to suit your specific needs, you’ll be ready for whatever comes your way.
Start small, stay consistent, and remember: it’s better to be a year early than a day too late.